

The Recording Sessions were imported into Logic Pro X and organised using colors for a better workflow (see the “Recording” section to understand better). The next step was identifying the good bits and export them as samples to further add them to the tracks.

EQ was used to cut low frequency, high frequency as well as unwanted frequency that sounded muddy within the mix. Boosting certain frequencies was used to add character and organize the mix space better.

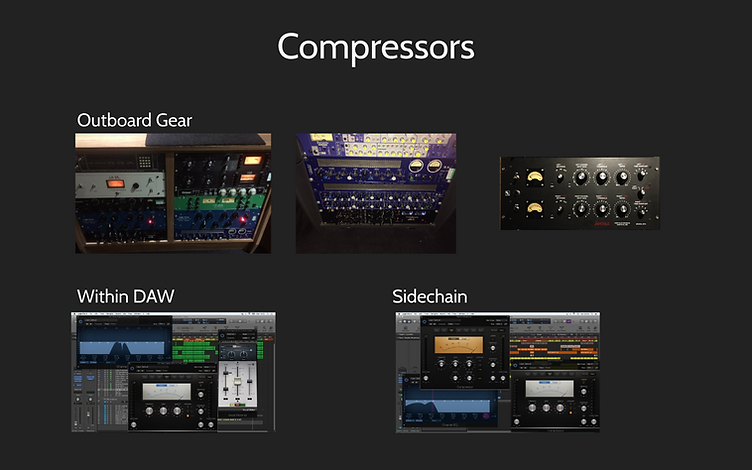
Different compressors were used depending on the desired result. One example would be the TLA Valve Classic Compressor I used for some of the instruments, as well as the Neve 22540 for Drums and Fairchild 670 for Vocal. They transparently compressed the sound whilst adding some analog warmth.
Time based effects such as Verb and Delay of different lengths were carefully used through buses to give more space to the track.

Other Buses were used to group the instruments (such as Drums, Sound Effects, Melodic Instruments) in order to apply signal processing to them being grouped as well as easy the next phase, which is bouncing down the multi track recording to stems.


Automation was used to change the sound of different synths through oscillators and modulation, as well as introduce some of the elements smoother by automated the gain and EQ.
As the CPU was overloaded at some point, the “Freeze Track” feature was used in Logic, also a few sessions were created to split the Drums, Instruments and other Sound Effects into Stems.

Having the Stems imported into Pro Tools, cleaning the mix space was the next step, followed by preparing the loudness for the Mastering phase.

This was achieved by using Limiters, which also gave more control over the dynamics.

This being explained, you can now check the “Mixing for Picture” section if you want to find out what implied working with audio for video content, or the “Mastering” section if you would like to hear some tracks that are ready for distribution.